How to Improve Acoustics in Your Arizona Church Worship Center
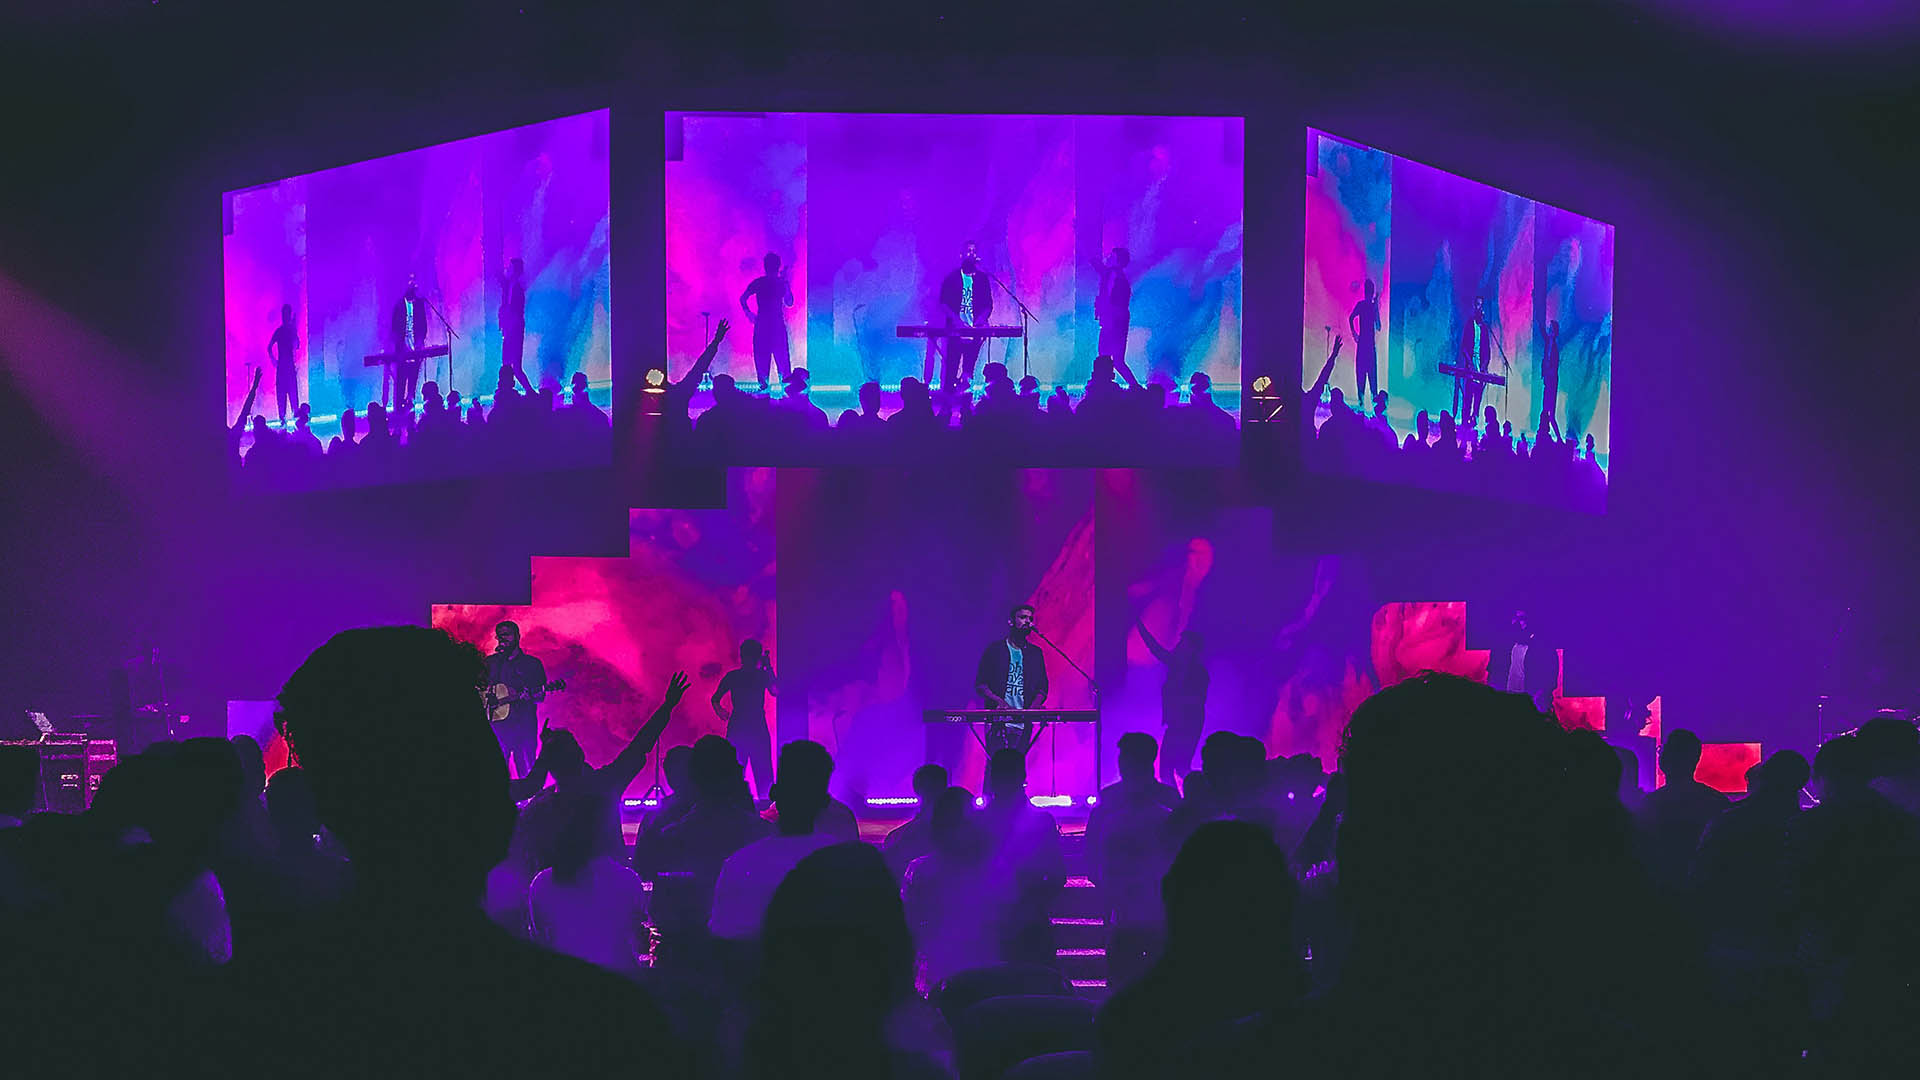
If your worship center sounds “echoey,” “boomy,” or the pastor’s voice gets lost in the back rows, you’re not alone — poor acoustics are one of the most common complaints we hear from Arizona churches. At Brilliance AV, we’ve helped dozens of Phoenix Valley congregations — from small multi-purpose rooms in Mesa to larger auditoriums in Chandler — dramatically improve clarity, intelligibility, and overall worship experience through smart acoustic treatment.
The good news: you don’t need a multi-million-dollar renovation to make a huge difference. Strategic use of sound absorption and sound diffusion (often from trusted brands like PrimeAcoustic) can transform the sound of your space. Here’s a practical guide tailored for Arizona churches.
Why Church Acoustics Matter
Acoustics directly affect three key areas:
- Speech intelligibility — Can everyone clearly understand the sermon?
- Music quality — Does the worship band or choir sound full and balanced?
- Congregational singing — Do people feel confident joining in, or does the room feel too dead or too live?
Many Arizona worship centers suffer from:
- High, hard ceilings → long reverb tails
- Parallel walls → flutter echo and comb filtering
- Hard surfaces (concrete, tile, drywall) → excessive reflections
- Heat and dust → faster degradation of untreated panels
Step 1: Understand Absorption vs. Diffusion
Sound Absorption
- What it does: Soaks up sound energy, reducing reflections and reverb.
- Best for: Controlling excessive reverb, taming echoes, improving speech clarity, reducing muddiness in music.
- Common products: Fabric-wrapped panels, bass traps, ceiling clouds.
- PrimeAcoustic options: London series panels, Cumulus ceiling clouds, Broadway bass traps — all designed with aesthetics and performance in mind for worship spaces.
Sound Diffusion
- What it does: Scatters sound in many directions, preserving liveliness while eliminating harsh reflections.
- Best for: Keeping a sense of “air” and natural ambiance for music, especially choirs and congregational singing.
- Common products: Quadratic residue diffusers, skyline diffusers, polycylindrical diffusers.
- PrimeAcoustic options: T-Bar diffusers, Quadratix diffusers — blend well into ceiling grids and look professional.
Golden rule: Absorb first (control problem reflections), then diffuse (add back controlled liveliness).
Step 2: Identify Problem Areas in Your Worship Center
Use the “mirror trick” and listening tests:
- First reflection points — Sit where the pastor speaks. Have someone slide a mirror along side walls. Wherever you see speakers in the mirror, place absorption panels.
- Rear wall — Strong slap-back echo? Add absorption or diffusion here.
- Corners — Low-end buildup? Install bass traps.
- Ceiling — Excessive vertical reverb? Add ceiling clouds.
- Balcony / overhang areas — Often need targeted treatment.
Walk the room during a rehearsal. Note where speech is clear vs. muddy, and where music feels full vs. thin.
Step 3: Recommended Treatment Strategy for Arizona Churches
Most worship centers benefit from this phased approach:
- Absorb first reflection points (side walls) — usually 20–40 panels.
- Treat the rear wall — absorption for clarity or diffusion to keep energy.
- Add bass traps in front corners — 4–8 thick traps dramatically reduce boominess.
- Ceiling clouds (if needed) — over the congregation or above the platform.
- Diffusion (optional, after absorption) — rear wall or upper side walls for musical liveliness.
Typical coverage targets:
- 20–35% of wall surface treated (absorption + diffusion combined)
- Reverb time goal: 1.8–2.6 seconds mid-band (shorter for preaching-heavy, longer for musical worship)
PrimeAcoustic panels and traps are a go-to for us because they perform well, look professional, and are designed specifically with worship environments in mind.
Step 4: Quick Wins on a Budget
Can’t do a full treatment yet? Start here:
- Add heavy curtains or acoustic drapes to side/rear walls
- Place 2–4 bass traps in front corners
- Hang a few fabric-wrapped panels at first reflection points
- Move loudspeakers slightly to avoid exciting problem reflections
These low-cost steps often give 40–60% of the improvement.
Step 5: Measure and Verify
Before and after treatment, use a free tool like Room EQ Wizard (REW) with a measurement microphone. Or let Brilliance AV perform a professional acoustic analysis — we’ll show you exactly where the problems are and how much improvement you can expect.
Brilliance AV: Your Arizona Acoustics Partner
Proper acoustics can transform your worship center from echoey and unclear to warm, intelligible, and inviting. At Brilliance AV, we’re passionate about helping Phoenix Valley churches create church audio solutions Arizona that enhance worship. We stock and install many PrimeAcoustic products because they deliver excellent performance and aesthetics in worship environments. From acoustic assessments to full AVL design, installation, and our AVL Maintenance Packages, we’re your church AV company Phoenix.
Ready to make your room sound the way it was meant to? Contact Brilliance AV today — let’s listen to your worship center and make it sound like the sanctuary it was meant to be.
Keywords: church acoustics Arizona, sound absorption church, sound diffusion church, church audio solutions Arizona, church AV company Phoenix, church AV setup Arizona, reliable church audio, church sound system Arizona, acoustic treatment church Arizona, worship audio clarity Arizona, affordable church AVL Arizona, church AVL upgrades Arizona, PrimeAcoustic church Arizona
Let's build irresistible experiences.
Connect With Us
Planning a project? Share your vision with us through this form, and we'll connect with you shortly.
Best Audio Equipment for Small Church Sanctuaries: Budget-Friendly Solutions That Actually Work
What’s the Right Church Sound System for My Congregation Size? Matching Equipment to Needs
Choosing the Best Display Technology for Your Arizona Church Worship Center
Lighting Design for Worship Services: Creating the Right Atmosphere in Arizona Churches
Why Tuning Your PA System Matters for Arizona Churches

What You Can Do Right Now to Improve Your Church Livestream – With Little to No Money!
Let’s Make 2026 Better: A Fresh Start for Your Church AVL in Arizona

The Most Important System You Never See: Why Church AV Infrastructure Matters More Than You Think